Simple Cedar Planked Salmon

We have cooked salmon many ways, but planked outdoor BBQ is hard to beat, especially when the weather starts warming up and you don’t want to heat up the kitchen.
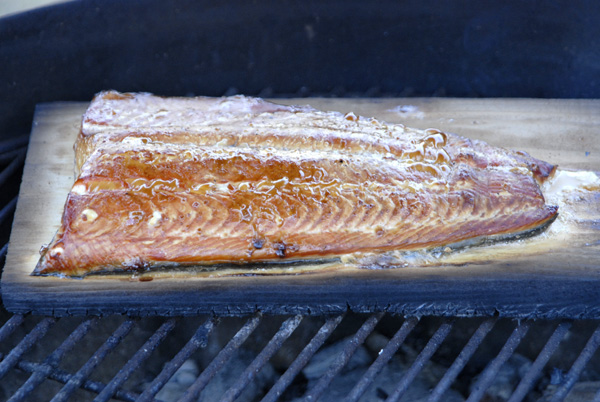
This simple planked salmon is low on fuss, but big on flavor.  Because the salmon is planked on a soaked board this cooking method allows the fish to maintain much of it’s moisture making a succulent, smokey meal.

serves 2-4

1 cedar plank cut to slightly larger than filet, soaked

1    2 pound salmon filet with skin

2 teaspoons brown sugar

1 teaspoon coarse salt

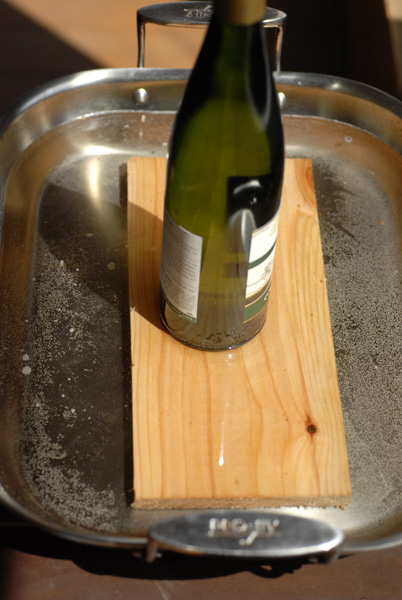
Use an untreated board that is 1/2 inch thick and a bit longer and wider than your salmon filet (about an inch perimeter around the fish).  Soak the board in water for at least an hour, weighting it down so it is completely submerged.
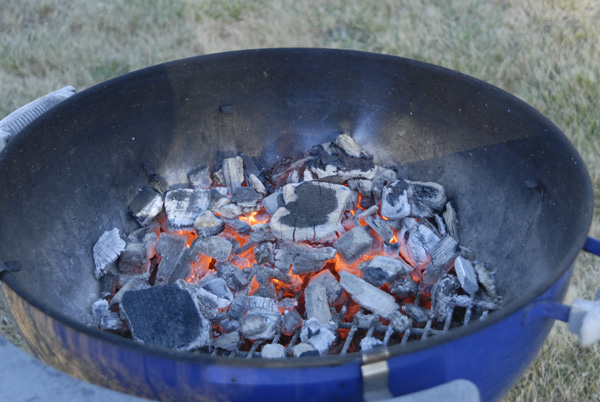
The planked salmon is better cooked ‘low and slow’ as opposed to fast and hot.  When preparing your BBQ you may want to consider using fuel that allows a slower, longer burn like charcoal chunks (or wood if you have time).  Briquettes tend to burn hot and die quickly – not the best choice for this cooking method.
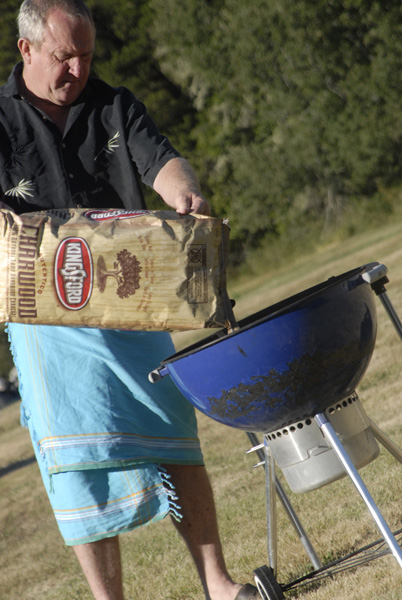
Wearing a ‘skirt’ while barbecuing is optional.  Steve is from Africa and in many countries a skirt (in this case a ‘kikoi’) is common – a daring fashion move for someone now living in the Pacific Northwest.  Back to the salmon…

The coals are ready when the temperature is cooler then what you’d cook a steak on, again ‘low and slow’ for planked salmon – you don’t want the plank to ignite for many reasons.
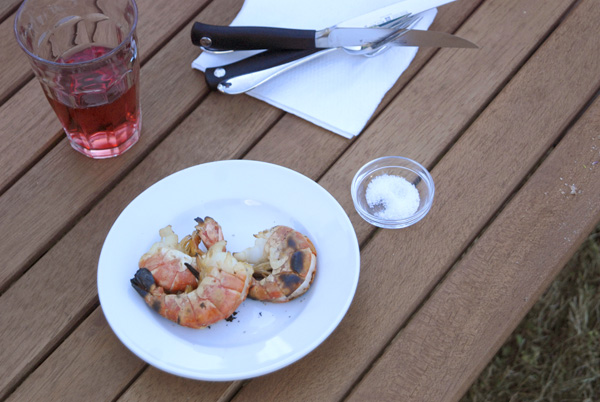
If you hate to waste good heat, throw some veggies or shrimp on the grill before the coals get to the lower temperature as a quick appetizer.
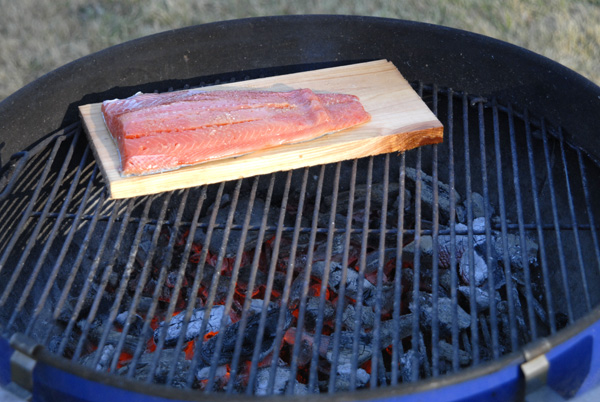
Once the coals have mellowed (about a 5 count hand) place the salmon on the prepared plank and sprinkle about 2 teaspoons brown sugar over the filet.  Place the plank carefully on the grill.
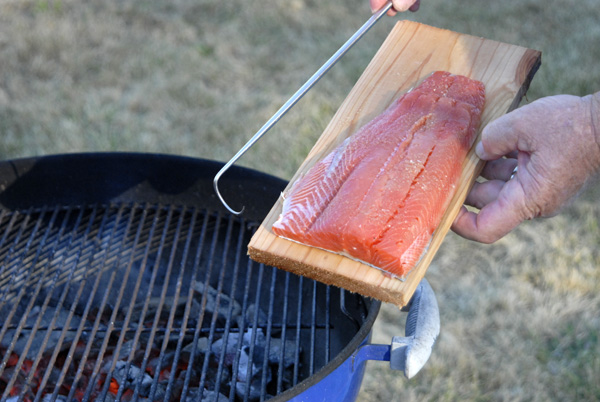
Place a lid over the plank checking the salmon after 15 minutes or internal temperature about 145°.  The sugar should be slightly caramelized and fish should have a good smokey ‘blanket’ of color.
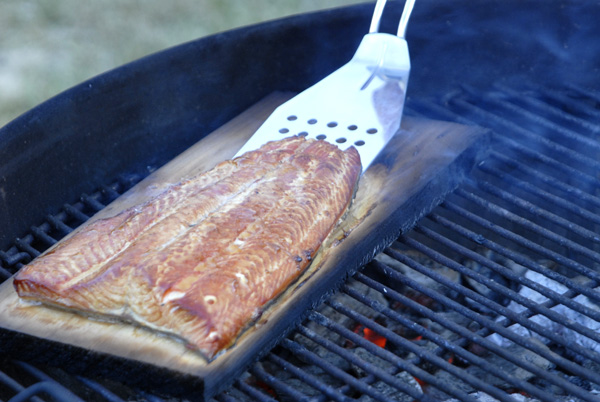
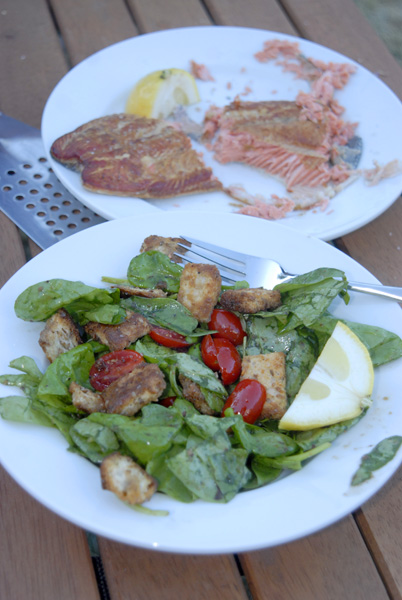
During this particular BBQ, we had an impromptu eating frenzy as soon as the fish left the grill.  I was able to give the filet a little squirt of lemon before Steve nipped at my fingers.
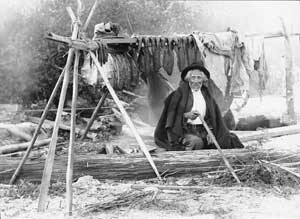
The origin of planked foods is said to have been developed by early Native Americans in the Pacific Northwest, although some believe that the method of cooking came from Scandinavia.  Both are probably true.  The early method in the PNW was usually done by tacking the filleted fish to large boards (normally western red cedar) and placing them around a fire pit for slow, smokey cooking.  This preparation was normally done in large quantities during the salmon run.  The volume of smoked fish allowed the villagers to have protein year round, especially important during the hard winter months.
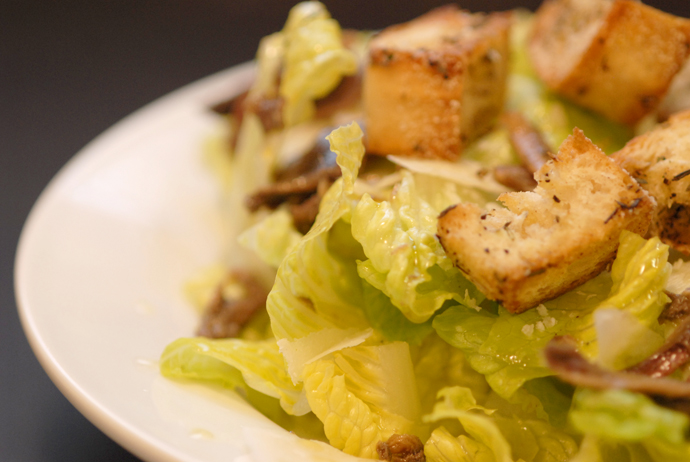
Hail Caesar Salad!

This is not your purist’s approach to this dish, and it is heavy on the anchovy – perhaps not a ‘First Date’ salad… unless of course you both revel in the beautiful stinkyness of tiny, salty fish.  I don’t recall how I came to start making Caesar salad this way, but it has stuck.  Hope it’s sticks in your repertoire as well.


serves 4-6

FOR THE CROUTONS:

2 cups sourdough bread or any style bread, cubed

1 teaspoon herbs de provence

1/2 teaspoon salt, preferably coarse

1/4 teaspoon freshly ground pepper

1/4 teaspoon garlic powder

olive oil for drizzling


FOR THE DRESSING:

1 3.5 ounce jar or can of anchovy fillets in oil, drained

2 garlic cloves

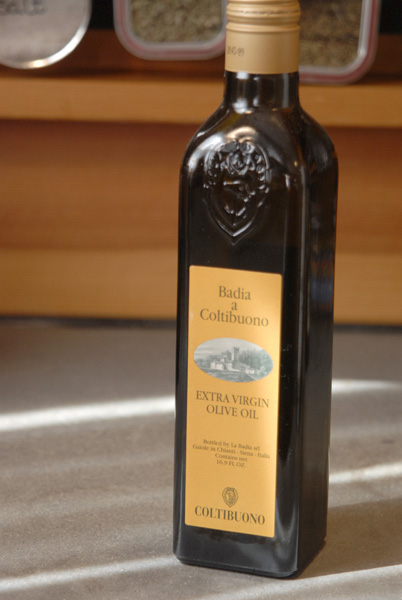
1/2 cup or more extra virgin olive oil (amount explained below)

1/2 cup or more lemon juice, about 1 to 2 big, juicy lemons

1/4 teaspoon coarse salt

1/8 teaspoon freshly ground pepper

1 to 2 heads of Romaine lettuce

4 ounces plus Parmesan


1. Preheat your (toaster) oven to 350°.  Place the cubed bread into a bowl and drizzle the olive oil while gently stirring.  Add spices and stir again.  Spread the seasoned bread crumbs in a single layer on a sheet pan and bake for 12 to 15 minutes.  Taste

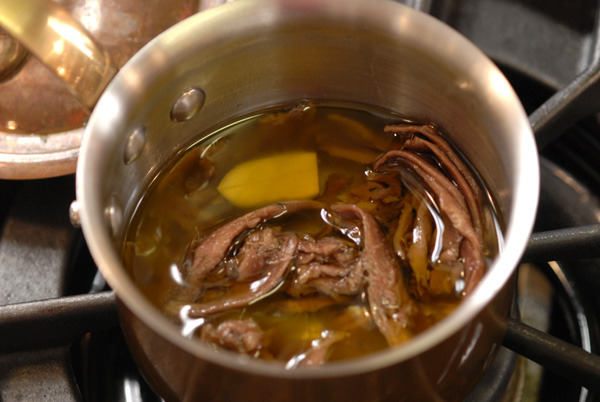
2. Drain the oil from the jar or can of anchovies (preferably not down the sink – or add to your pet’s food for a tasty treat).  Place the anchovies in a small pot and pour in olive oil just enough to cover.  I like to use a more robust oil to match the intenseness of the fish.

3. Give each garlic clove a gentle bash with the side of your chef knife.  Peel and plop the garlic into the pot.  You may choose to mince the garlic and then add it, for a more garlicy taste.   Gently simmer the oil for about 6 minutes on low.  Please do not allow the oil to boil as it will turn the anchovies into jerky. Let cool. Discard garlic cloves.

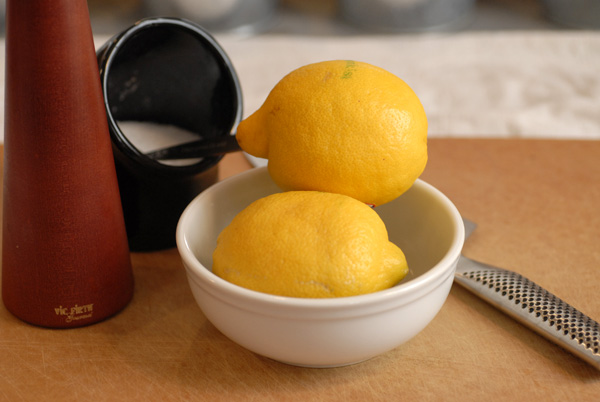
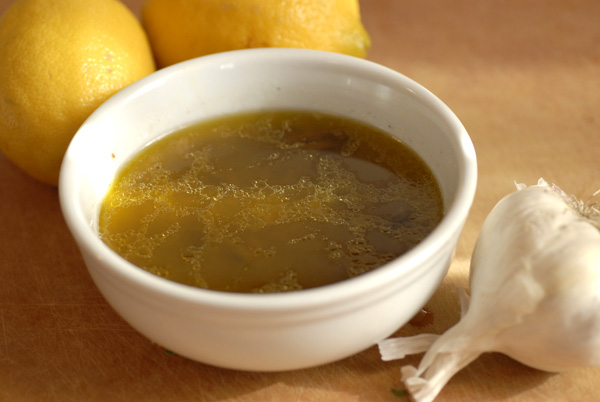
4. While the oil is simmering, chop, wash and spin your lettuce.  In a small bowl, squeeze the juice of one lemon.  Slowly pour in oil mixture into the lemon bowl while whisking vigorously.  Add more lemon juice to taste.  Salt and pepper.  Taste with crouton or piece of lettuce for seasoning.

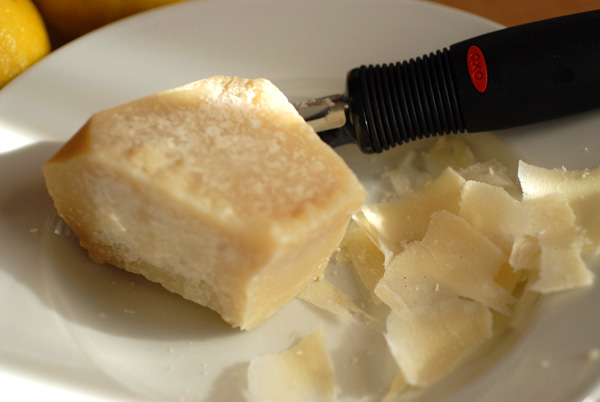
5.  Plate the lettuce into bowls.  Using a peeler grate the Parmesan over the lettuce, add a handful of croutons and spoon enough dressing to coat making sure you scoop up anchovies with your drizzle.

The history and origin of Caesar salad is cloudy; some have even suggested it’s creation was directly related to Julius Caesar, the controversial Roman leader.  Slightly less well known, and more likely the creator of this dish was Caesar Cardini originally from Italy.  The confusion of THE real inventor doesn’t stop there.  Cardini and his business partner had a restaurant in Tijuana, MX (choosing Mexico over the U.S. to avoid the then prohibition laws).  It was at this restaurant that Cardini was said to have ‘thrown’ the salad together with great flair and with the only ingredients he had left in the kitchen when a particular group of patrons had wondered in.  The dish, and Cardini’s performance caught on rapidly.  It was then that Cardini’s business partner said that it was he who(m) invented the salad.  A few other individuals wanted their names associated with the dish, but ultimately most people are settling with Caesar Cardini as the father of Caesar salad.

for your listening pleasure (not for the faint of heart):

#mce_temp_url#

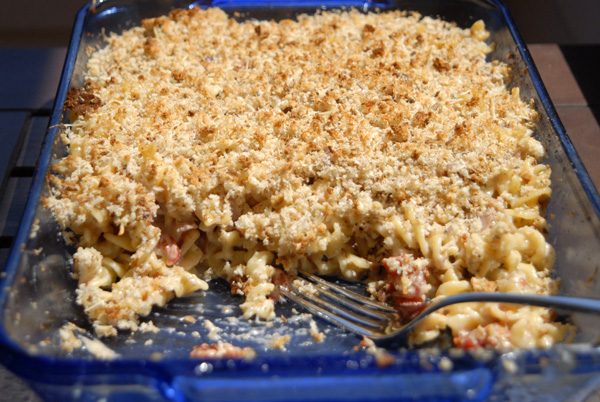
Funky Blue Mac & Cheese

grab a fork and dive in

Who doesn’t like Mac n Cheese!  This recipe is a slightly modified Cook’s Illustrated version.  This particular mac n cheese has the distinct blue cheese flavor, so if you aren’t into blue, you may want to try something more traditional.

The history and origin of macaroni and cheese is convoluted, as are many foods we eat today.  From the varied resources I looked into, I suppose it would be safe to say the the dish was popularized in the U.S. by Thomas Jefferson during his presidency.  Jefferson had a keen interest in foods and the gadgets that helped make them, such as a pasta machine.  Jefferson came back from a trip to Italy with a pasta machine, which he then improved upon leading to plenty of mac n cheese making in his household.  Personally, I’m very glad he popularized this dish verses something like Gypsy moth soup…

CRUMB TOPPING:

4 slices white or ‘light’ wheat sandwich bread, torn in to small pieces

1/2  cup grated Parmesan cheese

1 teaspoon salt

1/2 teaspoon fresh ground pepper

PASTA AND CHEESE:

1 pound fusilli  pasta

2 teaspoons salt

1 cup grated Fontina or mixed bag Italian cheeses

4 ounces of blue cheese, crumbled

1 cup  grated Parmesan cheese

1 4.5 ounce can  fire roasted tomatoes, chopped and drained

4 ounces prosciutto, chopped

2 tablespoons unsalted butter

2 tablespoons unbleached all-purpose flour

2 cups heavy cream

1.  FOR THE TOPPING:  In a food processor, pulse the bread slices and place in a bowl.  Stir in the Parmesan, salt and pepper.

2. FOR THE PASTA: Preheat oven to 500 degrees with the rack in the middle (more nearer the top) of the oven.

3. In a pot add enough water to cook the pasta and 1 tablespoon salt.  At a boil add pasta and stir to separate.  In a large bowl, mix all the remaining cheeses and chopped prosciutto.

4. While pasta is cooking, melt the butter in a small pot over low heat.  Stir in the flour and cook gently to remove floury taste, about 1 minute.  Do not let flour brown.  Slowly add heavy cream, fully incorporating it as you pour.  Increase heat slightly to bring the cream mixture to a very gentle simmer.  Gently add tomatoes and remove from heat.

5. Once pasta is al dente, drain quickly, then pour noodles into the cheese bowl. Immediately add the cream mixture over the top of the noodles and cover tightly with aluminum foil.  Let rest for 3 minutes.  A good time to rinse out sticky cheesy bowls, etc.  Remove foil and stir making sure the cheeses and noodels are fully incorporated.  Pour into a 9×13 baking dish.  Sprinkle bread crumbs over the top and pop it into the oven for about 7 minutes, making sure the topping is browned.  Serve on warmed plates.